5 min read
Spot Air Quality Issues: Reduce Indoor Pollutants Easily
Improve your home's air quality by learning to spot and reduce indoor pollutants effectively. Breathe easier and lead a healthier lifestyle with simple tips.

Regular DIY HVAC maintenance is the set of simple, repeatable tasks homeowners can perform to keep heating and cooling systems running efficiently, reduce energy use, and prolong equipment life. By focusing on air filter management, outdoor condenser care, furnace visual checks, and condensate drain maintenance, a homeowner can prevent common failures and maintain indoor air quality through straightforward actions. This guide explains what to do, why each task matters, and how to perform safe step-by-step procedures tailored for Utah’s seasonal dust and allergy cycles. You will get clear checklists for the most important tasks, practical how-to steps for changing filters and cleaning the outdoor unit, HVAC maintenance styles to choose the right filters and cleaning methods, and decision thresholds indicating when to escalate to professional help. Each section includes concise troubleshooting cues, preventive schedules adjusted for Utah conditions, and short lists to capture featured-snippet friendly answers for quick reference.
DIY HVAC maintenance covers a handful of high-impact actions homeowners can safely perform to preserve airflow, efficiency, and indoor air quality. These tasks work by removing airflow restrictions, preventing moisture buildup, and ensuring controls operate as intended, which reduces energy waste and component stress. Performing them regularly lowers the risk of breakdowns and helps systems deliver steady comfort through Utah’s dry summers and dusty shoulder seasons. Below are the most important tasks to prioritize and the reason each matters for system performance.
The most impactful DIY tasks are straightforward and repeatable, and they address the parts of the system most vulnerable to dirt, biological growth, and misconfiguration. Keeping these items on a seasonal schedule prevents small issues from becoming expensive repairs and creates a predictable maintenance routine. If any task reveals a safety concern—like gas odor, electrical arcing, or refrigerant leakage—stop and seek professional help immediately.
Homeowners can safely perform routine maintenance on filter assemblies, vents and registers, thermostats, visible exterior condensers, and basic visual furnace checks without specialized certification. These components are accessible, low-risk, and directly influence airflow and indoor air quality; for example, clean filters and clear vents reduce strain on blowers and improve comfort. Safety caveats include avoiding gas valve or burner adjustments, not attempting refrigerant repairs, and not working on internal electrical connections; these remain technician-only tasks. Keeping these boundaries clear ensures homeowners get the benefits of regular upkeep without exposing themselves to dangerous systems or voiding warranties.
When a homeowner encounters a problem outside safe DIY scope—such as persistent combustion odor, visible refrigerant oil, or sparking components—the correct next step is to power down the equipment and arrange a professional inspection.
Regular DIY maintenance improves efficiency by restoring proper airflow, which reduces run time and compressor or furnace cycling; cleaner coils and filters allow heat transfer to occur with less energy. Mechanically, removing debris and biological growth prevents heat-exchange surfaces from insulating themselves, so systems operate closer to design efficiency and experience less wear. For Utah homes, seasonal dust and pollen spikes mean more frequent filter changes and coil checks to maintain performance during peak usage. Consistent maintenance also reduces moisture-related corrosion and microbial growth, which otherwise accelerate component failure.
Maintaining these habits not only lowers monthly energy costs but also delays major repairs and can extend equipment service life; scheduling periodic professional tune-ups after sustained DIY care further optimizes efficiency and safety.
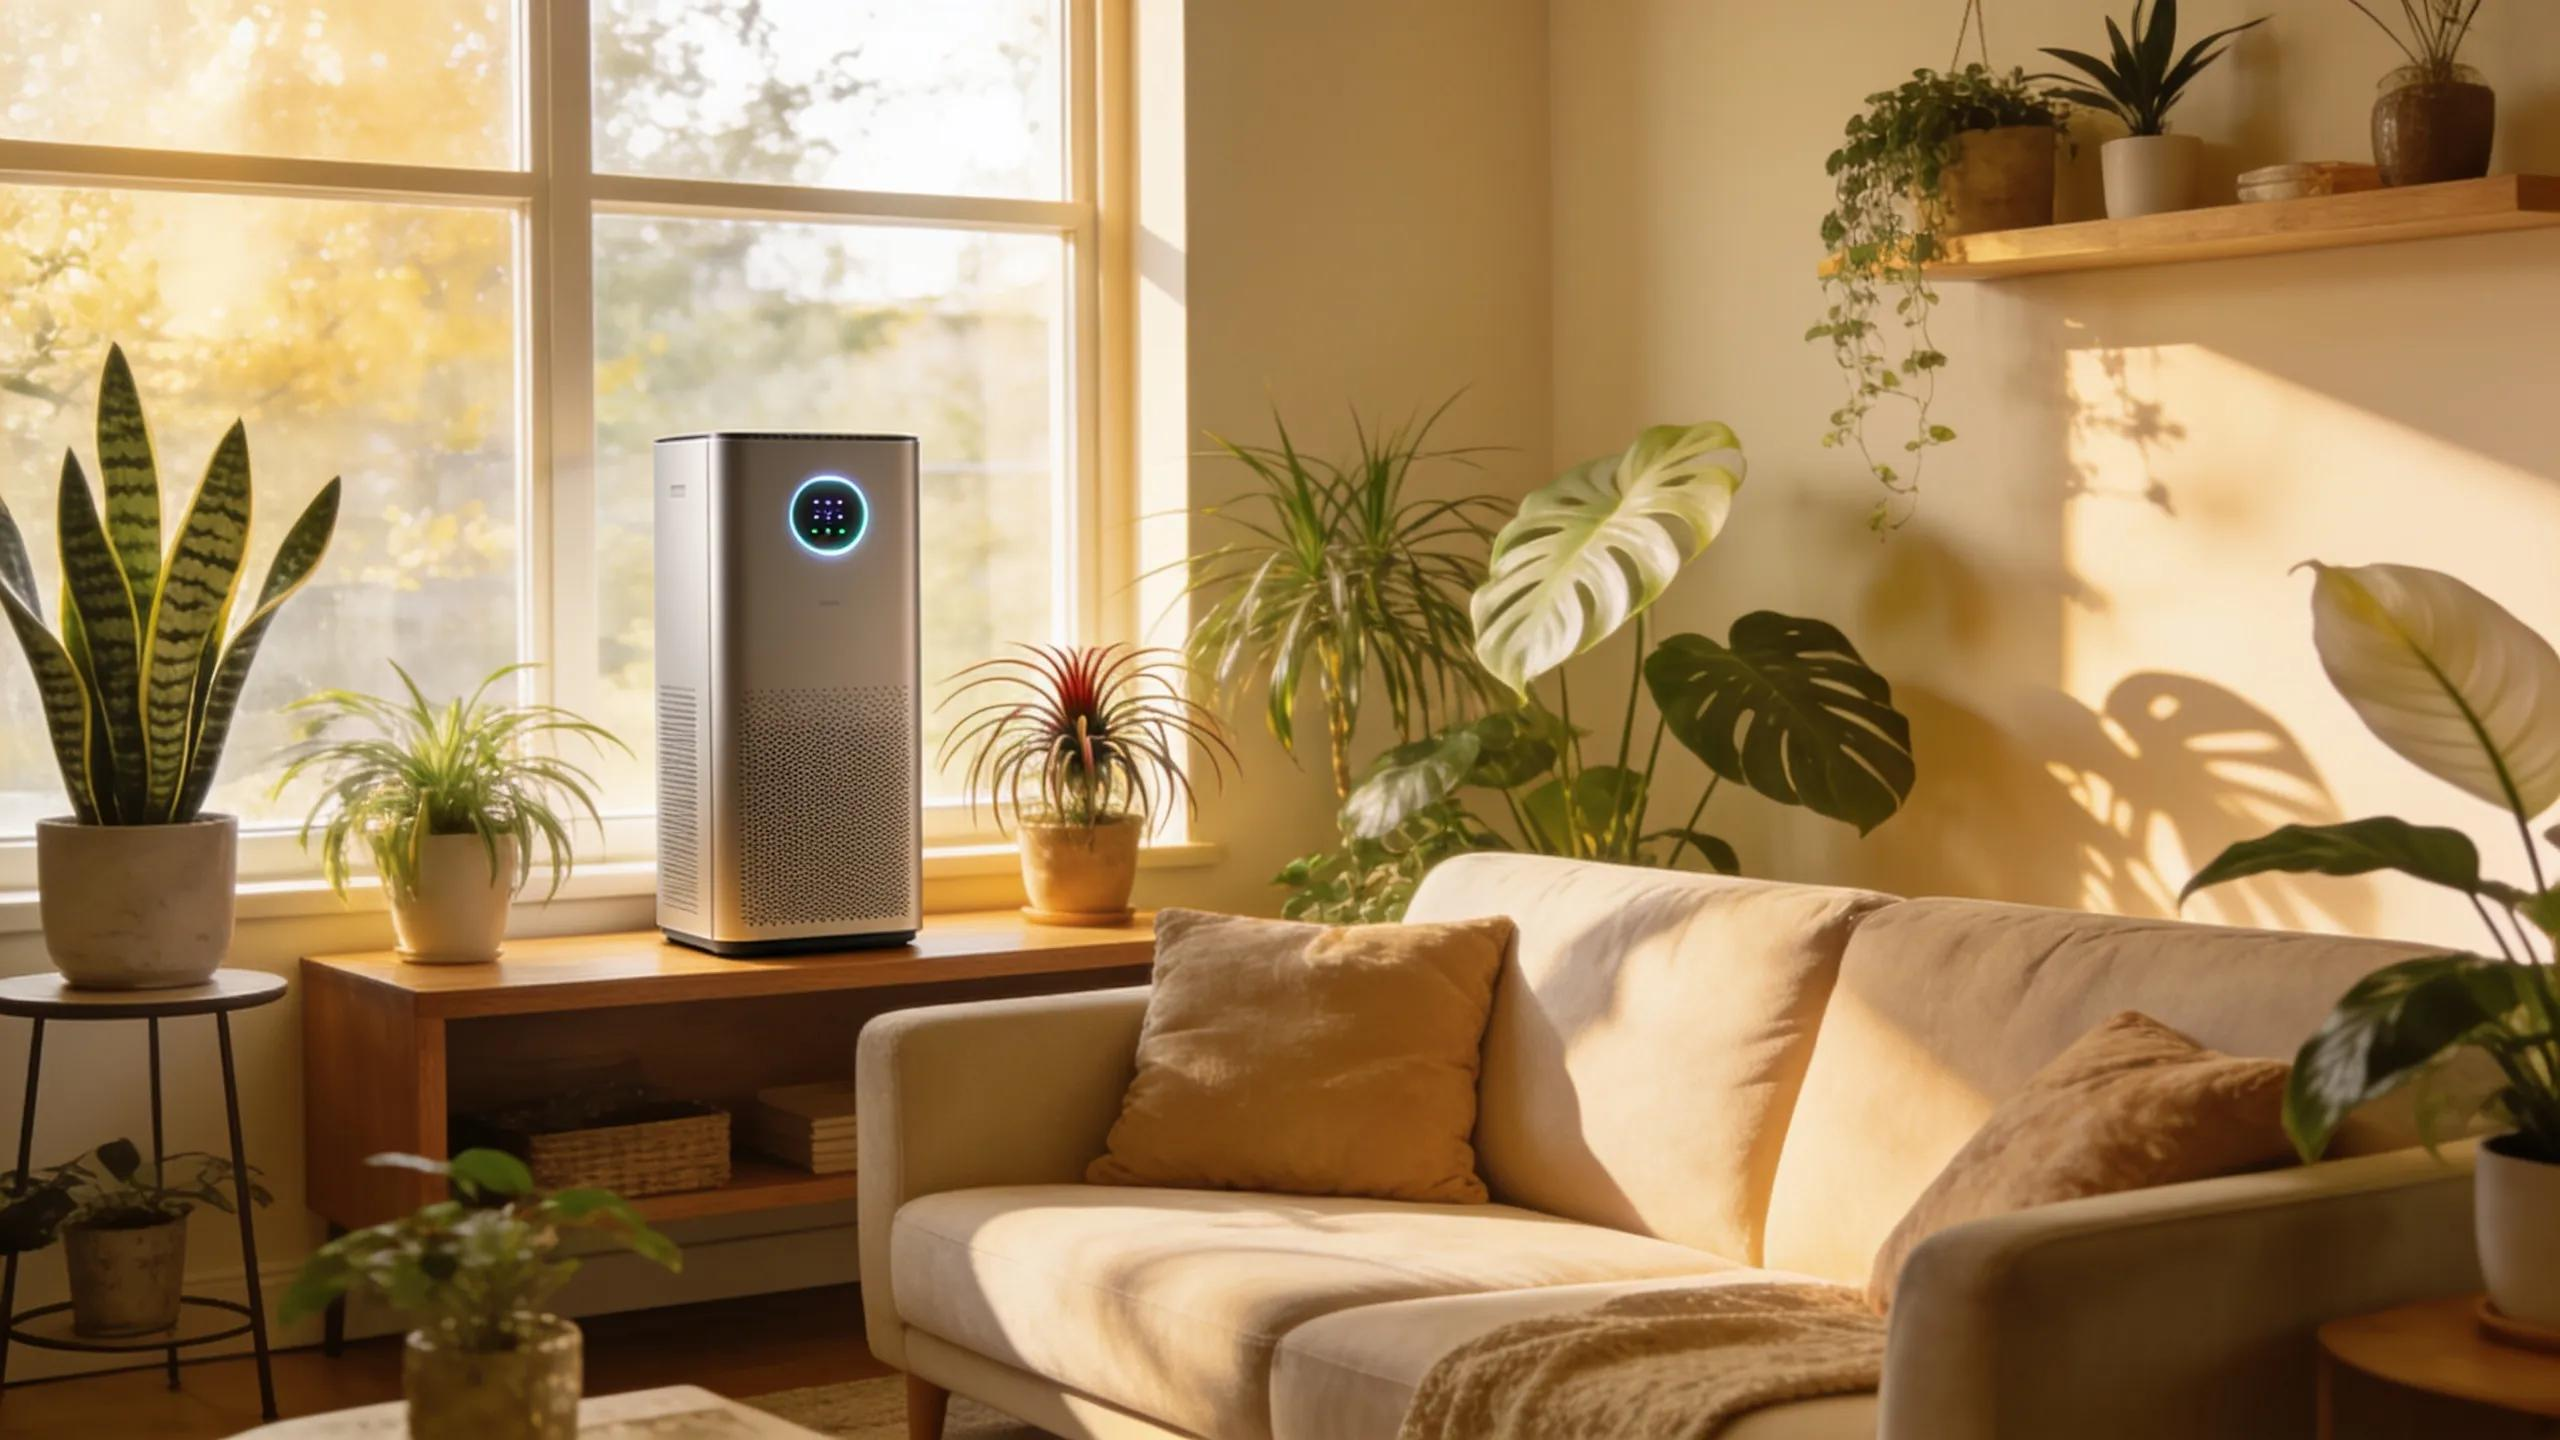
Replacing and maintaining air filters is the single most effective homeowner action to preserve airflow, protect equipment, and improve indoor air quality by removing particulate contaminants. Filters work by trapping dust, pet dander, and pollen; as they load up, resistance increases and the HVAC system must expend more energy to move air, which strains motors and can shorten equipment life. Below are practical steps, frequency guidance tuned to Utah conditions, and a compact EAV table to choose the right filter type for your home.
Changing filters is quick, inexpensive, and yields immediate airflow benefits when done correctly. Follow the step-by-step sequence below to avoid common mistakes and ensure the right filter orientation and fit.
Common mistakes include installing the wrong size, reversing airflow orientation, and failing to secure the filter, all of which reduce effectiveness and may allow unfiltered air into the system. If filters clog too quickly or airflow problems persist after replacement, consider professional diagnostics for duct leaks or blower issues.
Before the table below, this comparison helps you pick a filter based on performance needs and local environmental factors.
This table clarifies that higher MERV ratings capture finer particles but can increase airflow restriction; in Utah’s dusty seasons, pleated synthetic or high-efficiency pleated filters often hit the best balance between IAQ and system performance.
Utah’s climate and seasonal dust cycles mean baseline replacement schedules should be adjusted by household factors like pets and allergies. A practical frequency table and guidance simplify planning: a standard pleated filter often needs changing every 60–90 days in low-dust homes, 30–60 days with pets or allergy sufferers, and monthly for inexpensive fiberglass panels. Homes in high-dust neighborhoods or with frequent construction activity may require more frequent changes, especially during spring pollen peaks and fall dust storms.
Monitor filter visual loading and airflow: if the filter appears gray and dense or airflow feels restricted, replace it sooner. Keeping a dated log on each filter helps tailor intervals over time.
Common filter problems include wrong size, reversed airflow orientation, premature clogging, and damaged frames causing bypass. Symptoms are reduced airflow at registers, increased system run times, and rising energy bills; visible dust at supply vents despite a recently changed filter suggests a bypass or duct leak. Troubleshooting steps begin with verifying filter size and orientation, replacing with the correct MERV-rated product, and inspecting the filter slot for gaps or broken clips.
If replacing the filter does not restore airflow or the system cycles abnormally, check the blower compartment for dust build-up and confirm vents are open; persistent issues or unusual noises should prompt professional inspection for duct constriction or motor faults.
Cleaning the outdoor AC condenser improves heat rejection by restoring airflow through the condenser coil and removing debris that acts as insulation on finned surfaces. The mechanism is simple: clean fins and coils transfer more heat, reducing compressor workload and preventing short-cycling during hot Utah summers. Basic cleaning also prevents clogs that trap moisture and promote corrosion, so seasonal checks before peak cooling months are especially valuable.
Perform a careful cleaning routine that prioritizes safety and avoids damaging fins or electrical components. If you encounter signs of refrigerant leaks, damaged fins beyond straightening, or electrical corrosion, cease DIY work and call a professional.
A concise tool kit keeps outdoor cleaning safe and effective without specialist equipment. At minimum, homeowners need gloves, safety glasses, a garden hose with a gentle spray nozzle, a soft brush or fin-friendly brush, and a non-acid coil cleaner labeled safe for aluminum coils. Optional tools include a fin comb to straighten bent fins and a wet/dry vacuum for clearing debris around the base.
After gathering tools, power should be isolated at the outdoor disconnect before starting any cleaning work to ensure safety and prevent motor damage.
A safe, efficient condenser cleaning sequence prevents damage while restoring performance. First, turn power off at the outdoor disconnect and thermostat, then clear loose debris like leaves and grass from around the unit. Use a soft brush and low-pressure water from inside out to rinse dirt from the fins; apply a manufacturer-safe coil cleaner according to label directions if heavy grime persists. Allow the cleaner to dwell per instructions, rinse gently, and use a fin comb only to straighten small bends; avoid over-straightening. Reconnect power and test system operation while listening for abnormal noises and checking airflow.
If cleaning does not restore expected cooling capacity, or if you notice refrigerant-scented oil, icy lines, or electrical burning odors, stop and contact a licensed technician.
Before the next section, consider the decision threshold for professional assistance: severe fin damage, refrigerant issues, or electrical faults require expert tools and certification.
Furnace preparation and safe visual inspection reduce winter failures by ensuring combustion and airflow systems are unobstructed and controls work reliably. The essential steps address filter replacement, visual inspection of burners and vents, blower compartment cleanliness, thermostat calibration, and carbon monoxide detector checks; together, these measures reduce safety risks and improve heat delivery efficiency. For Utah winters, performing these checks before peak cold snaps prevents emergency heating outages and ensures steady performance during sustained use.
Begin with safe shutdown procedures and avoid altering gas valves or internal combustion adjustments; these tasks are restricted to licensed technicians for safety and code compliance.
Safe furnace inspection begins with turning off power and, for gas units, verifying the gas supply is not tampered with. Use a flashlight to inspect the burner assembly and combustion chamber for soot, rust, or corrosion and listen for unusual sounds when briefly powering the unit for testing. Light vacuuming around the exterior and blower compartment (with panels replaced correctly) removes dust that can impede motor cooling. Never attempt to adjust the gas valve, burner assembly, or ignitor—if ignition issues, persistent odors, or soot appear, isolated power down and call a professional.
Following this safety-first flow prevents homeowner exposure to combustion hazards and preserves system integrity.
Key components for homeowner checks include the air filter, blower assembly area (visual only), thermostat operation and batteries, venting and flue visual integrity, and the condensate or drain pan if present. For each, look for signs: dirty filters, excessive dust around the blower, thermostat unresponsiveness, rust or gaps in vent joints, and standing water in pans indicating drainage issues. These visual checks identify symptoms that can be corrected quickly—like replacing a clogged filter—while also flagging items that need professional diagnosis.
If you observe yellow pilot flames (for older systems), strong exhaust odors, or significant rusting of the vent, power down and request a certified inspection.
Pre-winter preparation includes replacing filters, ensuring vents and returns are clear, testing the thermostat schedule and batteries, checking carbon monoxide detectors for proper operation, and scheduling any needed repairs before heavy use. Timing these actions in early autumn reduces the chance of mid-winter failures and helps systems run efficiently when demand rises. Energy-saving tips for local climate include setting programmable schedules to reduce run time when the house is unoccupied and sealing drafty returns or duct leaks that are common sources of heat loss.
If the furnace shows signs of inefficiency during a test run—long run cycles, uneven heating, or abnormal combustion indications—arrange a professional tune-up before relying on the system for extended cold periods.
Regular DIY HVAC maintenance empowers homeowners to enhance system efficiency, prolong equipment life, and improve indoor air quality through simple, actionable tasks. By prioritizing air filter management, outdoor unit cleaning, and furnace inspections, you can prevent costly repairs and ensure comfort year-round. Embrace these essential practices to safeguard your home’s heating and cooling systems effectively. Start your journey towards a more efficient HVAC system by exploring our comprehensive guides and resources today.
Our customers commend our outstanding service and competitive pricing, valuing the personalized attention and expert advice that make us their preferred HVAC provider.

AC failed this past spring. I received 5 bids from big comany’s to small local companies. I decided to go with Luna because of their price and support. For the money I felt Luna gave me the best equipment. Jamie was awesome. He came to my home and answered all my questions then gave me several options to choose from. The install went exactly as planned with no extra cost. Thank you Luna.
Absolutely amazing company! Very polite. I needed help in the middle of the winter with a furnace issue and they quickly fixed my heat so I asked for a bid for a complete replacement. They did a complete replacement in one day and I couldn’t be happier.I highly recommend anyone in need of any heating and air conditioning problems to call them.
I've had many interactions with Jaime, and they are all positive. Each time he was at my home within a couple of hours or less. Very knowledgeable, very pleasant and personable and a huge bonus that he offers a discount for military veterans. I would never hesitate to call again in a time of need. He's so reliable in a world of no shows in business. I highly recommend his company for any of your HVAC needs
Fast, honest, and trustworthy. Jaime was fantastic to work with. He gave us great feedback and was the best price of the 3 companies we got quotes from. I got his number from a neighbor who also had a great experience with him and recommended him highly to me.
We're super happy with Jaime's work. He is honest and straightforward, does a good job, and gets there significantly faster than the big chain businesses do. We'll keep going back to him for tune-ups and any other needs in the future.
Needed furnace blower motor replaced next day service. Jaime and his son took care of issue quickly and efficiently. Would definitely recommend will use again and again. Had water heater and ac capacitor replaced in past. Same great service and prices
Jaime was great to work with and did a fantastic job installing our heater and air conditioning. He is responsive and helpful, all for an unbeatable price. The installation is clean and professional, and our unit has worked great through some cold nights
My system came with a ten year parts and labor warranty. I had an issue with my new system condensation tune leaking. Luna Heating and Air came out ASAP and took care of the problem. Excellent customer service. Will always recommend.
Jaime is fantastic. I built a second home and had him do the HVAC work. Since then I've had him do some other repairs on my primary home . Great sense of humor. Professional, fair and very responsive. Highly recommend him.
Jaime did the entire HVAC system on my new home. He did a great job and came in at a great price. He is very responsive and easy to work with. I would reccomend him anyday.
As a consumer, I feel like I have to choose between a price OR quality work. Luna does BOTH - quality and at a fair price. My experience is that that is so rare - I had to provide feedback of excellent service 5 stars and will always recommend and call Luna for future services.


Get flexible financing for your Luna Heating & Air upgrade with Optimus. Apply today and see how easy and affordable it is to bring year-round comfort to your home.